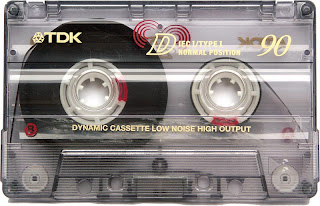
Yeah, yeah, I know; I'm not that old, but some times it feels like it. The other day, I found some of my cassettes tapes filled with really good music that I haven't listen in a long while. The problem, as you may have predicted, is that I don't have a cassette player to listen to them. The last time that I had one was in 1997, if I'm not mistaken. Then, it occurs to me: How can I take out the music form this piece of old junk and put it on my PC as mp3 files? Well, the solution is here my friends. For all those ochentosos like myself, here are the steps, hardware and software that we need to bring those hits to the "new millennium" .
First of all, you'll need some hardware.
1. A cassette player
2. Of course, you need a computer
3. Finally, you'll need some kind of cable to connect the two. A male-to-male 3.5mm stereo audio cable
For software, you just need some program that can capture the audio and another to convert the resulting files to mp3 (or some format that you like, ogg?). The one that I recommend is Audacity. Audacity is a free, open source program for editing and recording audio. It's available for the mayors OSes, but because Windows is what I have, we will be focusing on it. For the others, the process is basically the same. If you want to convert the resulting WAV files to mp3 you'll need the LAME mp3 encoder as a plugging for Audacity.
Now the hard part:
1. You'll need to make sure that your cassette player is up to the task. Make sure that everything is clean
2. Now connect your tape deck to the computer (from the headphone jack or output jack to the input jack on the PC). Using the 3.5mm jack cable or the one suited for your arrangement.
3. Now, go to the control panel (Windows) and make sure that the line in jack is enable. Now go to Audacity to the I/O (input/output) tap in preferences. Make sure that the output is set to go to the sound card.
4. In the audio software, set the record in stereo option (if you are recording music; mono for spoken word is ok). Remember, you will like to use the highest sample rate available. For CD quality 44 100 kHz is about right; mp3 files are compress anyways.
5. Now the test. Press play on your Walkman and record on the software. You should be listening some music on the pc speakers if everything is ok. Now adjust your software accordingly. For Audacity, choose star monitoring form the input option so the time line is visible.
6. Finally, if everything is good to go, restart you recording process. After everything you want is recorded; save the file to your hard drive.
If you want to convert the giant WAV file to individual mp3 files, you'll need to first separate each song with Audacity or some other editing software and then using the mp3 encoder, convert then to mp3. For tagging the files, look for some MP3 tagger program on Google (don't be lazy).
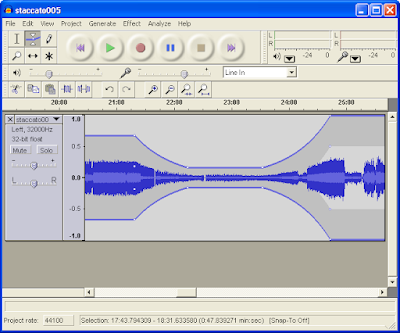
Here is pic of Audacity running on Windows. It looks ochentoso, but it works.

Now that with have all that good music on our iPod, stop. It's Hammer time. This process also work for LPs if you wanna go really retro. Just replace the cassette player with a turn table.